
 Україна
 Méjico
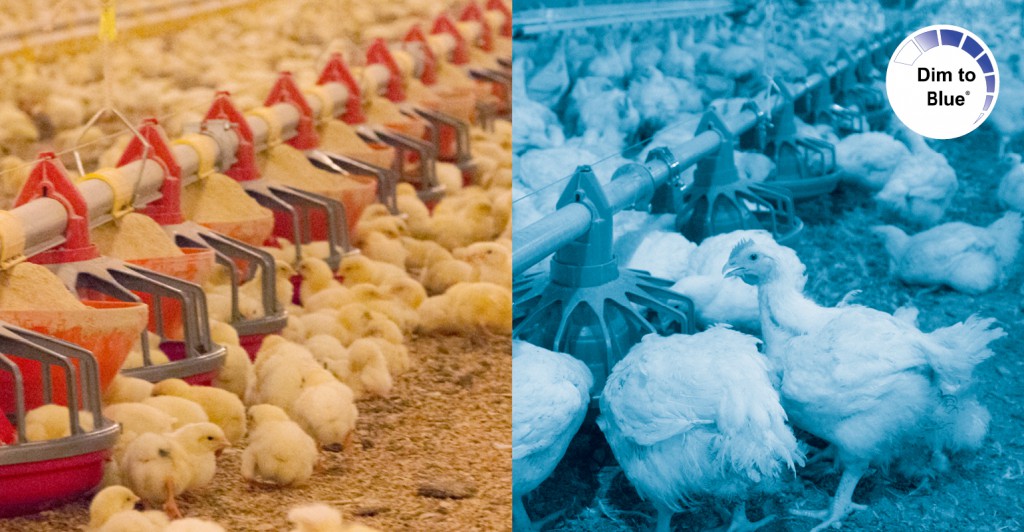
While LED lighting can bring broiler poultry growers significant energy savings, AgriShift® Dim-to-Blue® lighting offers more than being an environmentally friendly option. What makes AgriShift® Dim-to-Blue® technology uniquely beneficial, is that it is designed to influence and direct certain processes, recreating the best possible environment for your animal. New developments in LED lighting can now provide a customized light spectrum, intensity and photoperiod control for broiler environments. The utilization of this advanced LED lighting in broiler facilities can bring performance benefits, resulting in increased broiler production and improved animal welfare.
Three characteristics of lighting should be considered when designing a lighting system:
1) light spectrum or color of the light
2) intensity of the light, and
3) photoperiod or the amount of time the lighting fixtures are on each day.
In the past, lighting systems (incandescent, fluorescent or high-pressure sodium lamps) had fixed color and intensity, with the only controllable variable being the length of exposure. With ONCE® AgriShift® Dim-to-Blue® technology and lighting systems, it is possible to control all three key characteristics.
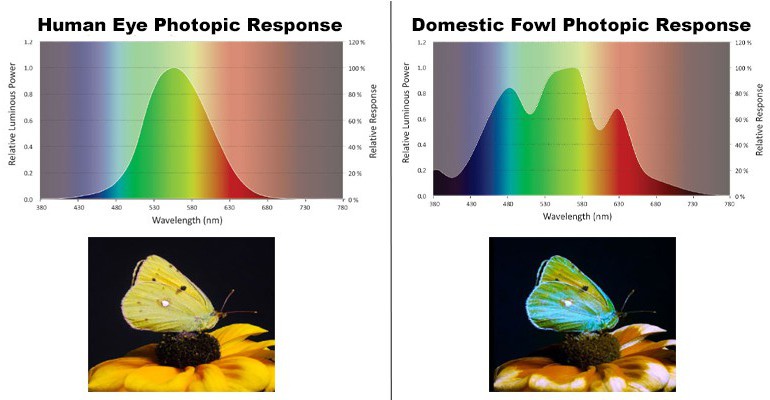
Research shows that a typical chicken views a light source much differently than a human eye would. For instance, the graphs below show that humans and chickens perceive green light similarly, but chickens have enhanced sensitivity to reds, blues and ultraviolet light. Additional research has shown that different wavelengths can be used to enhance various aspects of development. For example, green light increases growth during the early stages of development by enhancing proliferation of skeletal muscle satellite cells, which repair and build muscle. Blue light is helpful in the growth and sexual development of poultry at a later age by elevation of plasma androgens, allowing the bird to put on more muscle mass. Combined green and blue light promotes myofiber growth due to more effective stimulation of testosterone secretion.
By organizing individual LEDs to activate at predetermined voltage levels, it is feasible to implement a color-shifting technology, which is the foundation of AgriShift® Dim-to-Blue® lighting products for broilers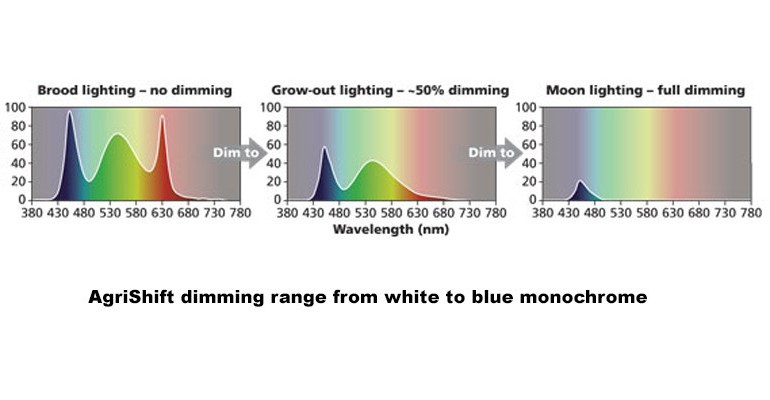
AgriShift® Dim-to-Blue® lighting systems shift the spectrum to mimic a natural sunrise and sunset. With no dimming, the system produces a full light spectrum, ideal for stimulating growth when beginning a chicks growth cycle. As grow out continues the lighting is gradually decreased to 30%, shifting the range from blue to green to promote muscle growth. When the system is fully dimmed (also known as moon lighting), the monochromatic blue is used to calm the birds at night or before catching.
Using ONCE® AgriShift® Dim-to-Blue® technology and lighting systems allow broiler farmers an environmentally friendly lighting option that not only saves on electrical costs but also improves animal welfare and increases broiler production.
To learn more click Dim-to-Blue®.
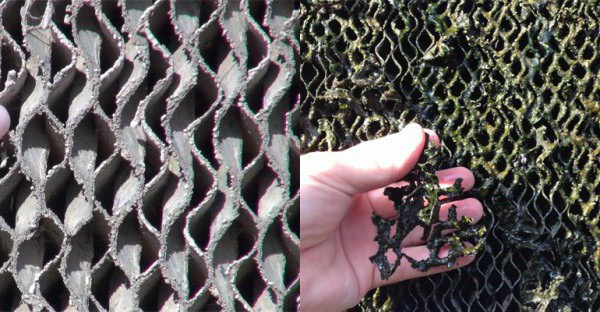
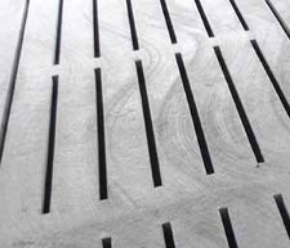
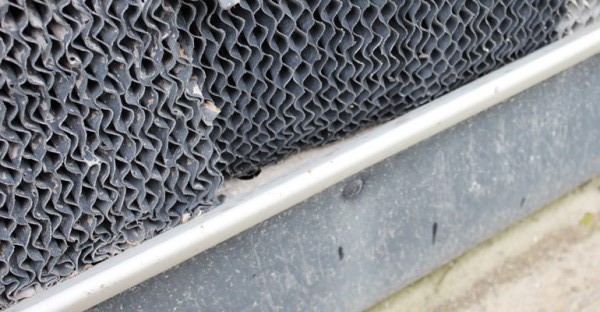
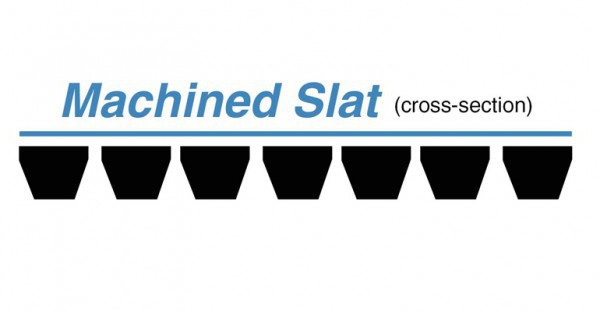 The level surface provided by flat top slats reduces joint injuries from twisting and slipping on uncomfortable floors. Uniform slat openings prevent the pigs' legs from getting caught in a narrowing opening and damaging their toes and claws. Keep slats in good condition by using quick setting, abrasion resistant mortars to repair any exposed aggregates as normal wear occurs. Cover surfaces around feeders and waterers with an epoxy overlay coating to protect the concrete from acid compounds and heavy pig traffic. For more information on repairing concrete slats download

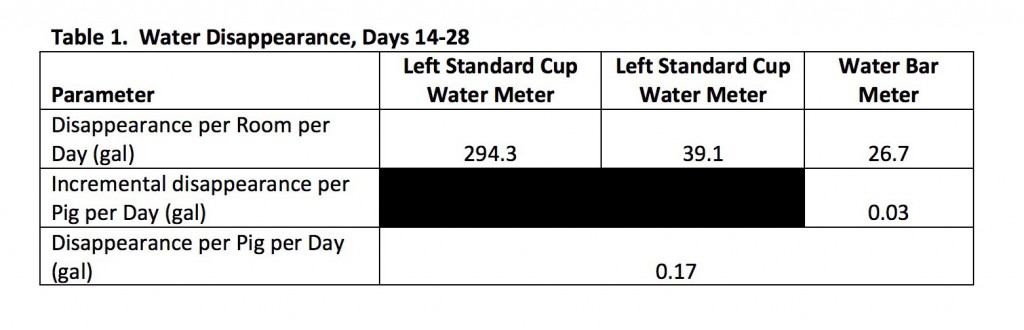
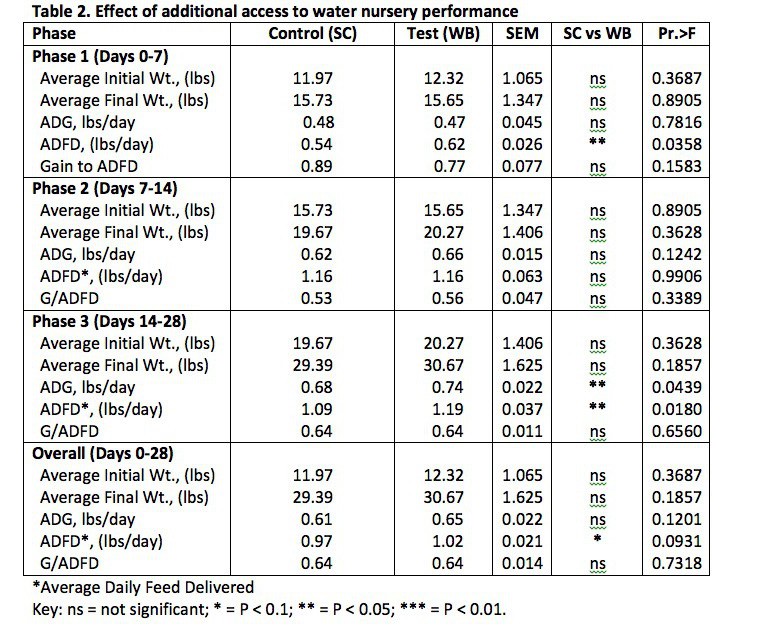 Conclusion & Recommendations
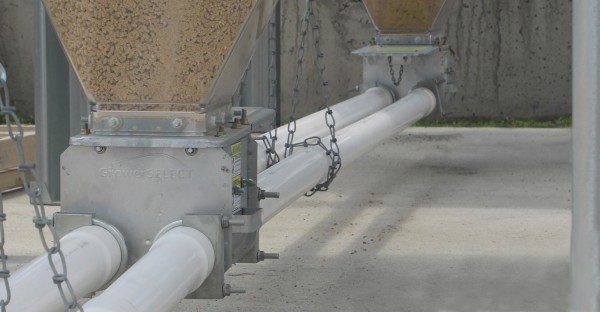
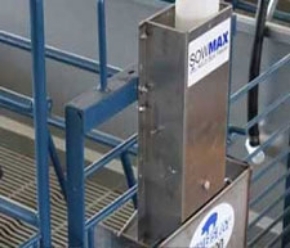
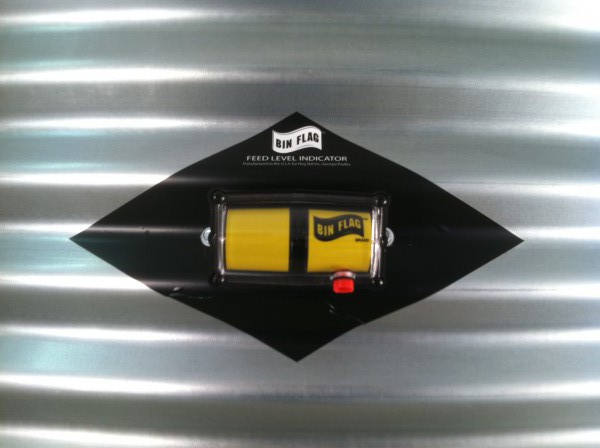 Bin Flag level indicator mounts on the outside of a bin rotating to yellow when feed level drops below postition.
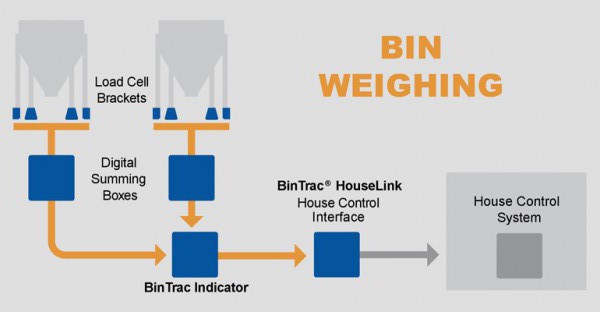
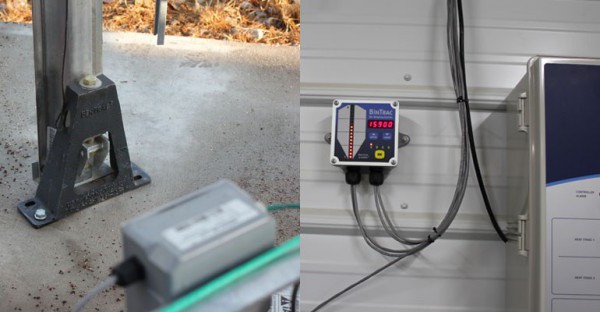 Load Cell and Summing Box mounted on a bin. BinTrac Pro Indicator.
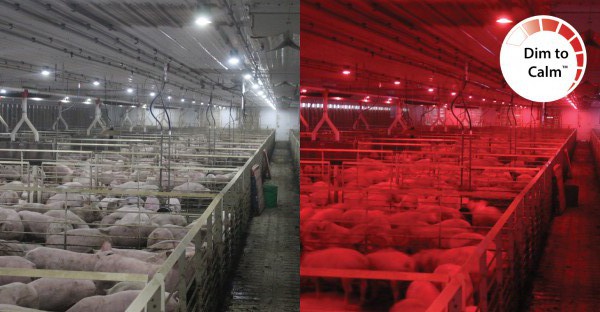
 Dim-To-Calm lighting mimics sunrise to sunset photoperiods
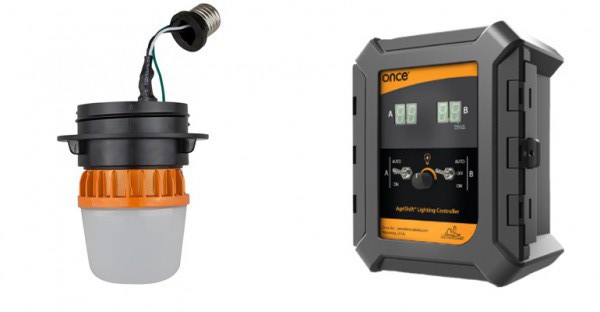 10 watt LED fixture with slave dimmer
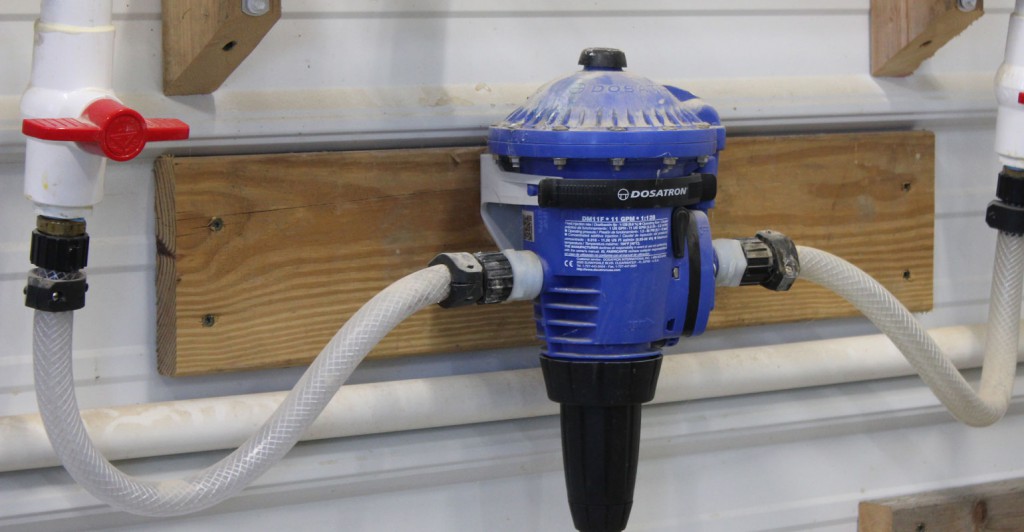
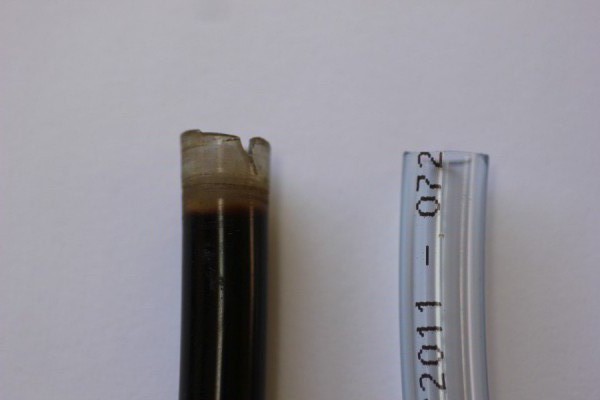
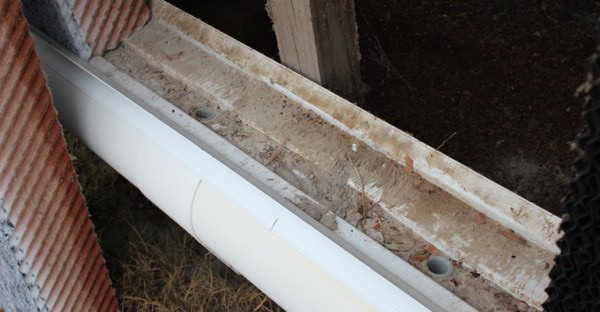
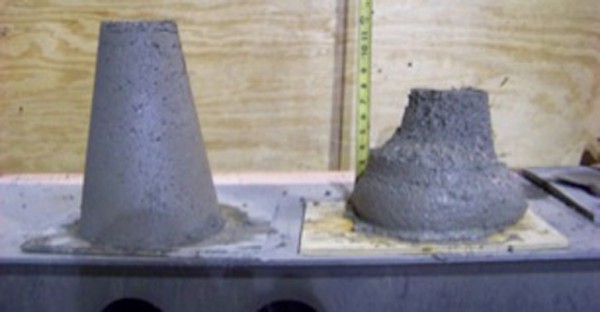
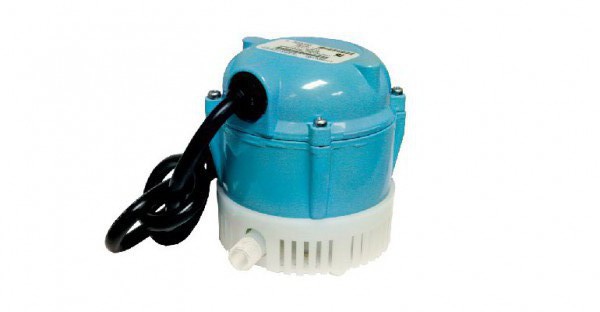 1.Use a mixing device in the stock tank...and that doesn't mean a paint stick!
 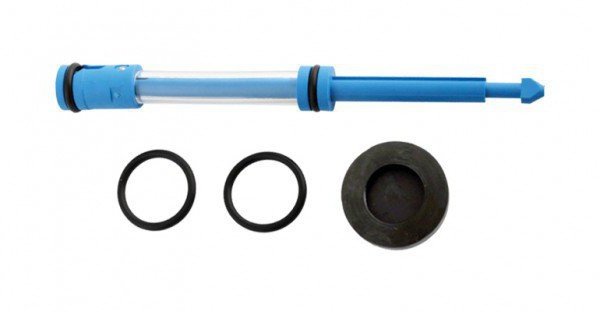 3."Click-Clack" doesn't mean it's working... replace the seals.