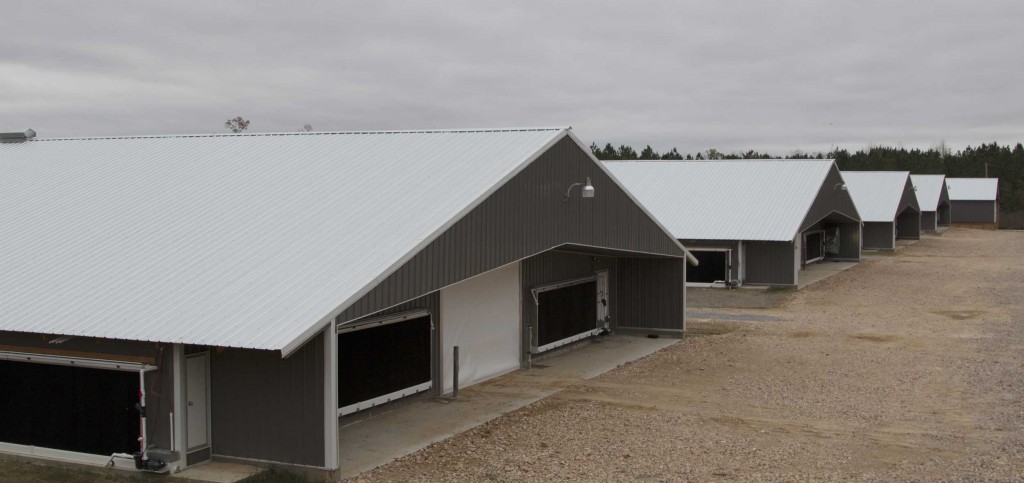
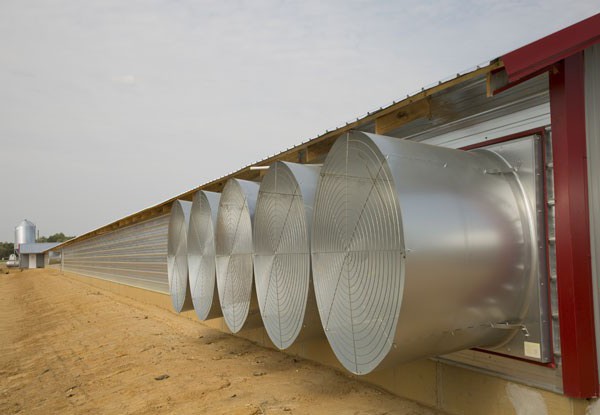
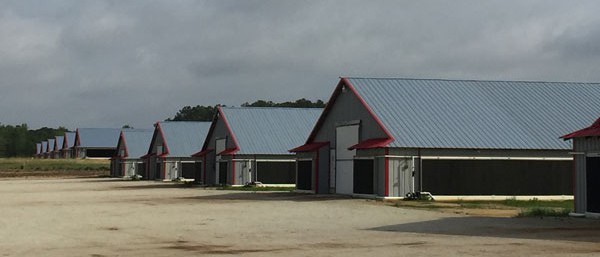
Broiler houses at a Georgia farm.
When it comes down to it, the cost of manufacturing a high-quality product is the same for most companies producing equipment for the livestock and poultry markets. Most companies have identified the most efficient methods to build an anchor bearing, motor, feeder, nipple waterers, etc.
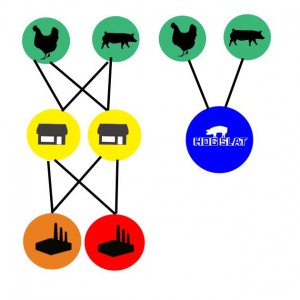
The real cost difference comes from the delivery of those products to the end user. The standard model of distribution, in our industry, involves a manufacturer producing a product line, warehousing it, and employing a sales force to establish a dealer network.
The dealer network stocks the equipment, maintains a storefront, hires salespeople, installs, and services the production systems in a local area for the brand of equipment they represent.
This particular type of distribution model has changed very little over the history of the livestock and poultry production industries. Each member of this distribution model is an independent business entity and is free to add whatever margins they deem necessary (or possible) to the final cost a producer pays.
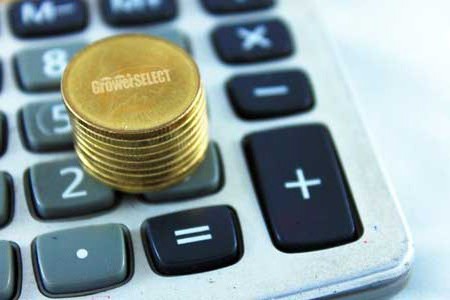
GrowerSELECT supply chain removes extra margins to reduce the final cost to end users.
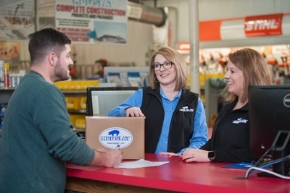
Sold through a different type of distribution model, GrowerSELECT goes directly to livestock and poultry growers through our network of regional local stores. Because we own the distribution chain from top to bottom, we add only ONE MARKUP over our cost.
Our cost is based on finished goods plus ONE MARKUP vs. MULTIPLE MARKUPS from the typical distribution model.
Also, we would suggest that we are the low-cost producer for most products. Wait a minute; the first paragraph said the cost of manufacturing was the same for everyone.
True. But if a brand has a loyal dealer network, the pricing to the dealer network will not be challenged. A loyal dealer will continue to buy brand name products even if the cost is excessive.
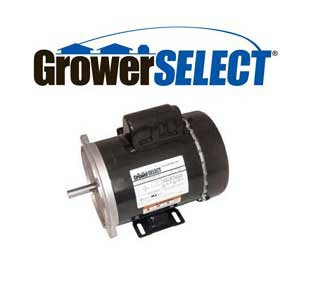
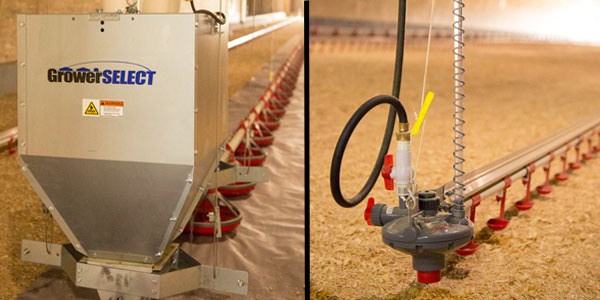
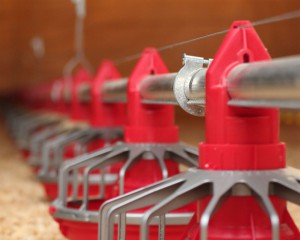
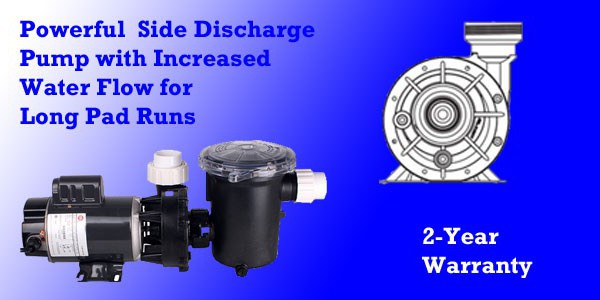
GrowerSELECT auger motor with 2-year warranty.
Name brand motors are a perfect example of this. An auger or fan company buys a motor from a motor manufacturer, puts their logo on it and sells it to a local supplier. The local supplier sells the motor to the end user adding little value to the final price. A local supplier has few other options. Their volume of a particular motor isn’t high enough to go directly to a motor manufacturer, and they have little negotiating power with their chosen brand vendor. The brand company has little incentive to lower the cost to a loyal dealer network. In fact, a brand company can charge different prices in different geographical locations depending on market pressure.
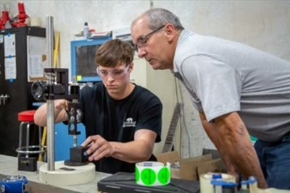
Compare this with GrowerSELECT motors. Our network of over 70 store locations and turnkey construction business allows for large purchases of motors direct from a manufacturer. We forecast purchase amounts for each store location and ship directly with minimal warehousing cost. Local retail pricing continually drives us to buy at a more competitive price.
The conventional distribution chain is directed from the TOP DOWN versus the GrowerSELECT model which is driven from the BOTTOM UP. Lower pricing for comparable products is the result.
The GrowerSELECT distribution model also affects product responsibility. Because we interact directly with the end users, we deal directly with any problems arising with the installed products. We sell it; we service it, and the end user works with one company.
The traditional marketing chain allows room for some question regarding who is responsible for dealing with equipment failures when those problems arise. The manufacturer can blame poor installation, dealer system design, or a number of other reasons (excuses) for a product’s failure. A local supplier can blame the brand company for poor design or manufacturing flaws. The GrowerSELECT distribution system eliminates “finger pointing” and focuses on providing accountability to each and every customer.
 Our customers produce commodities. The lowest cost commodity producer is always the most successful. Our mission is to provide our customers long term value at the lowest possible cost.
Ask yourself this question; “Are all the manufacturers, distributors, dealers, installers, and service personnel creating ADDED VALUE in the distribution chain I buy from?” If you hesitated while answering that question, take the next step by changing the way you buy and implementing GrowerSELECT equipment into your operation.
To contact a sales representative in your area or find our nearest locations to you, click here.

 Україна
 Méjico


 Hog Slat developed the GrowerSELECT® line to collapse the supply chain, reduce margins and lower the final cost. How?